Visual (HTML)
The content here is intended to be copied and pasted into Camlin Connect applications. The examples below use a combination of JQuery and MateralizeCSS which is loaded by Camlin while applications run in the browser.
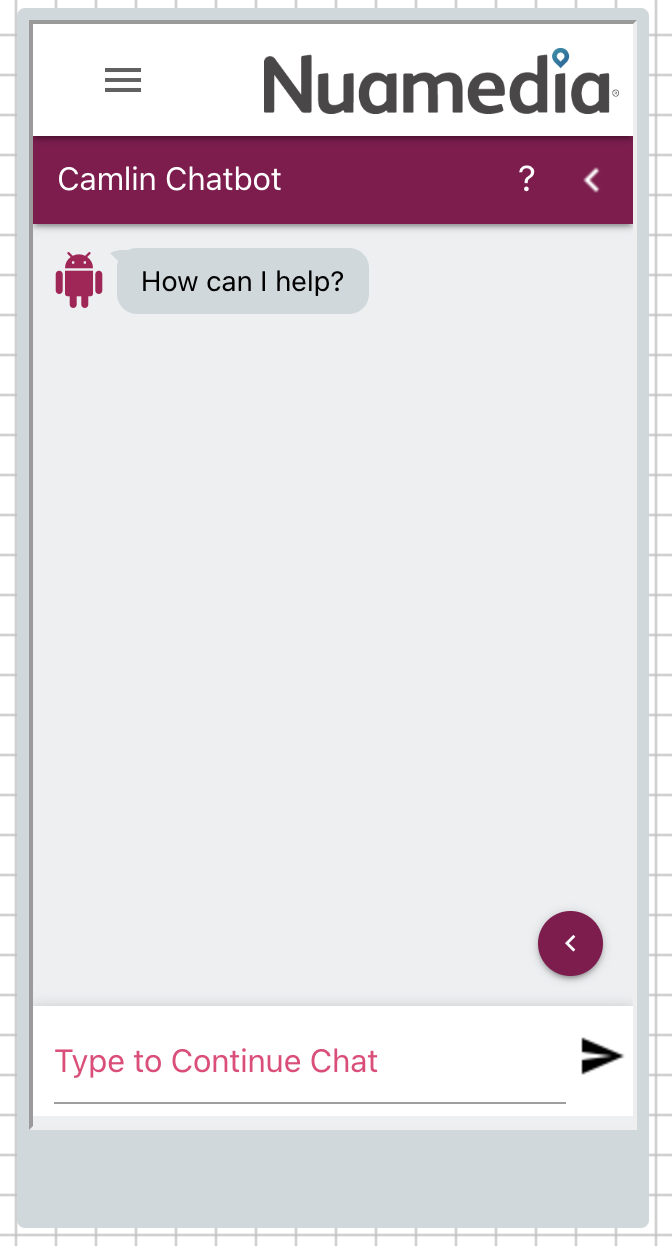
Camlin Chatbot
How to embed a Camlin Chatbot window inside your visual flow.
Mobile Browser or Widget
The example below is used when you want to focus on mobile browsers (phones and tablets etc.) compared to a full browser window on larger screen, for example a desktop or laptop.
Base HTML
Drag and drop a new Embedded HTML element into an interaction and copy and paste the following HTML and Javascript code into it.
<style>
.chat-container {
	width: 100%;
	height: 100%;
	margin: 0px !important;
	padding: 0px !important;
}
.chat-container iframe {
	width: 100%;
	height: 100% !important;
	margin: 0px !important;
	padding: 0px !important;
	border: 0;
}
</style>

<div class="chat-container">
  <iframe id="chatiframe"></iframe>
</div>

<script>
var botHeight = $(window).height() - 60; <!-- minus 60 is needed if there is a navbar at the top of page -->
$('.chat-container').height(botHeight);
var projToken = 'token';
var title = 'Our Chatbot';
var greet = 'How can I help you?';
var url = '/cc-chatbot/index.html?ht='+botHeight+'&pt='+projToken+'&title='+title+'&greet='+greet;
var cif = document.getElementById('chatiframe');
cif.src = '/cc-chatbot/index.html?ht='+botHeight+'&pt='+projToken+'&title='+title+'&greet='+greet;
</script>
Change the ‘projectToken’ to match the token of the project you are working with. You can also change the variables called ‘title’ and ‘greet’ to tell the chat window how to display and what the first message to the user will say.
PC and Desktop Browsers
If you want to display the chatbot window in a larger screen (e.g. desktop or laptop browser) then the following code can be copied and pasted into a new Embedded HTML element in an interaction.
<style>
.chat-container {
	width: 300px;
	max-width: 500px
	height: calc(100vh - 260px) !important;
	margin: 0px !important;
	padding: 0px !important;
	border: 0;
	position: fixed !important;
	bottom : 10px;
	left: 10px;
	z-index: 1;
	border-radius: 6px;
}
.chat-container iframe {
	width: 100%;
	height: 100% !important;
	margin: 0px !important;
	padding: 0px !important;
	border: 0;
	border-radius: 6px;
	-webkit-box-shadow: 0 2px 2px 2px rgba(0, 0, 0, 0.24);
	box-shadow: 0 2px 2px 2px rgba(0, 0, 0, 0.24));
}
</style>

<div class="chat-container">
    <iframe id="chatiframe"></iframe>
</div>

<script>
var botHeight = $(window).height();
$('.chat-container').height(botHeight);
var projToken = 'token';
var title = 'Our Chatbot';
var greet = 'How can I help you?';
var url = '/cc-chatbot/index.html?ht='+botHeight+'&pt='+projToken+'&title='+title+'&greet='+greet;
var cif = document.getElementById('chatiframe');
cif.src = '/cc-chatbot/index.html?ht='+botHeight+'&pt='+projToken+'&title='+title+'&greet='+greet;
</script>
Buttons
Each flow button can be either styled by adding css style/class references to the button, there is also a way to add more graphics and icons to a button.
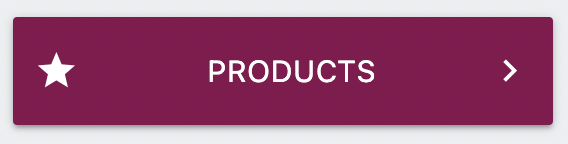
Large horizontal button with icon, title and arrow to the right
This id a common button format that is used in Camlin applications and it has an icon on the left and an arrow on the right.
<div class="row"> <div class="col s12 waves-effect waves-light btn btn-large var:color_scheme:var" > <i class="material-icons left large"> star </i>     Products   <i class="material-icons right large"> chevron_right </i> </div> </div>
Floating Circle Button
This button is good for when you want to position a return button for examples like when you are displaying a Camlin Chatbot window.
<div style="position: fixed; bottom: 70px; right: 10px; z-index: 99999"
class="waves-effect waves-light btn btn-small btn-floating white pink darken-2">
 <i class="material-icons">keyboard_arrow_left </i>Cancel</div>
Note: that changing the values of bottom, and right determine where this is positioned on the page. You can also use the references top and left to position this button on the page. This example shows positioning on the bottom right area of the browser window
Selectable List of Items
To display a list of items that can be clicked on by the user and the information is stored in a Camlin application variable. The example also shows how a button can be used to flow onto a different interaction that can show the details of the item that was clicked.
JSON Data
This example below assumes that there is a variable called numbersJson that contains a JSON object with data like the following.
{
  "id":"1", "name":"Rita", "number":"1234567890"
}
HTML
Copy and past the following HTML into a an interaction item.
<script>
    var numbersJson = 'var:numbersJson:var';
    if(!isBlank(numbersJson)) {
        showTable(JSON.parse(numbersJson));
    }

    function showTable(data) {
        let tableCustomElements = $('#table-numbers');
        if (tableCustomElements.length) {
            var table = tableCustomElements.DataTable({
                'data': data,
                "columns": [
                    { "data": "id", "orderable":  true},
                    { "data": "name"},
                    { "data": "number"}
                ],
                "columnDefs": [
                    {
                        "targets": 0,
                        "render": function ( data, type, row, meta ) {
                            return '<div class="btn btn-small small blue listitem" data-id="'+id+'">'+data+'</div>';
                        }
                    }
                ],
                'order': [0, 'asc'],
                'dom': 'ft<"footer-wrapper"l<"paging-info"ip>>',
                'scrollCollapse': true,
                'pagingType': 'full',
                'pageLength': 20,
                'drawCallback': function( settings ) {
                    $(".listitem").on('click', function(e) {
                        e.preventDefault();
                        let id = $(this).data("id");
                        $.ajax({
                            url: 'rest/in/api/var:pt:var/clickList?listClicked='+id+'&ht=var:mvr_handoff_token:var',
                            dataType: 'json',
                            type: 'post',
                            success : function(id, textStatus, jqXHR) {
                                $(".clickListBtn").click();
                            }
                        });
                    });
                }
            });
        }
    }
</script>

<div class="col s12">
	<table id="table-numbers" class="row-border display nowrap dataTable no-footer dtr-inline" >
		<thead>
			<tr>
			<th>ID</th>
			<th>Name</th>
			<th>Phone</th>
			</tr>
		</thead>
		<tbody>
		</tbody>
	</table>
</div>
Camlin Application
When a button is pressed in the table to select the row, then the code example above posts a message to the Camlin application on the API Channel, when the Camlin application gets this message, it will store To accept the button press and the data that this sends to the application.
Application Variable
You will need to define a Camlin application variable to accept the and store the id of the list item that was clicked. The variable listClicked must be defined in the application with the ‘Context’ and ‘Incoming’ flags set to true which will tell the Camlin application to store the value into this variable when message is posted to the app from the browser via the HTML example above:

Application Flow
The application will require some logic at the start of the flow that checks the inputApiURi variable to see if the clickList was called (as defined in the HTML above) and if this is called then the application will respond with a simple API response. Here is an example of the flow required.

Application Button
Normally when somebody clicks on an item in a table you will either do something with that row or item (e.g. prompt them to delete it) or you will flow to another Camlin interaction to show the data or item that the user clicked on. In the HTML example above the javascript inside this posts the message to the Camlin application to tell it what item was selected and then when it gets a response from the Camlin application it will press on the hidden button on the interaction. This hidden button will flow onto the appropriate interaction that could display the item information.
This is a part of the code from the example above that selects (clicks) the hidden button.
success : function(id, textStatus, jqXHR) {
  $(".clickListBtn").click();
}
This is the button configuration required.
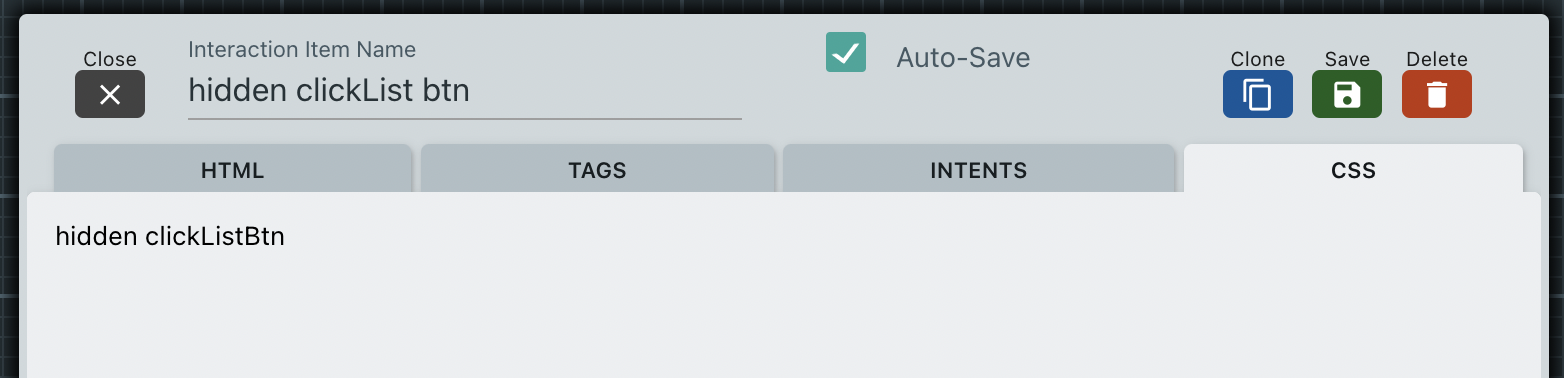
Note: the button name can be whatever you like it to be. The CSS property of hidden is simply used to hide the button on the screen and clickListBtn is used to click the button as shown in the Javascript example above.